n8n Tutorial: Build Your First AI Workflow Step by Step
11 min read · AstraLoop Studio
You've heard n8n is becoming the standard tool for automating processes at small and medium businesses, but every tutorial you open reads like it was written by a developer for other developers. JSON, webhooks, API calls: the kind of words that make you close the browser tab. This guide does the opposite. It takes you by the hand and walks you from zero to your first working workflow with an AI node, without writing a single line of code.
n8n is part of a bigger conversation, the one about business process automation with AI. It's not a technical toy, it's the concrete way a small business can get the tools it already uses (email, CRM, spreadsheets, WhatsApp) talking to each other, then layer a bit of artificial intelligence on top. If you're still not clear on what n8n actually is conceptually, read what n8n is and how it works first, then come back here and get your hands dirty.
Today's goal is specific: build a workflow that, every time a new lead comes in from a form, uses an AI model to classify it and draft a first personalized reply, then emails that draft to you ready for review. One hour of work, zero code, and you'll understand the mechanism behind dozens of other automations.
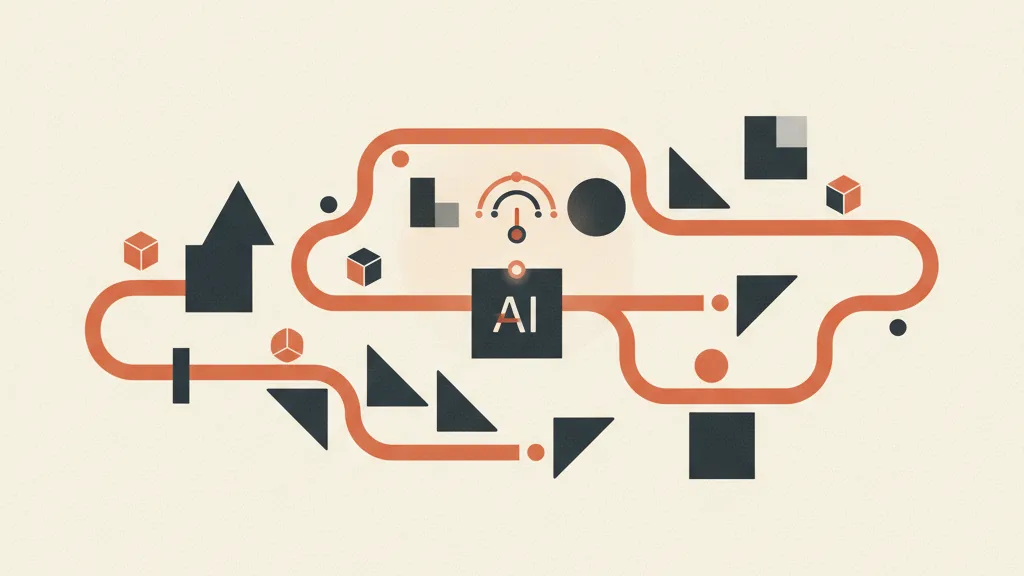
Before you start: what a workflow actually is, in plain terms
A workflow in n8n is a chain of blocks connected to each other. Each block is called a node and does exactly one thing: it receives data, transforms it, or sends it somewhere. Data flows from left to right, like packages on a conveyor belt. The first node (the trigger) is what kicks everything off: a form submission, an incoming email, a set time. The nodes that follow work on that data and pass it to the next block.
Three concepts are all you need to get started:
- Trigger: the event that starts the workflow. No trigger, no run.
- Action node: does something with the data (calls an AI model, writes to Google Sheets, sends an email).
- Connection: the line joining two nodes that defines the order. Data travels along that line.
That's it. Everything else is a variation on these three elements.
Step 1: get n8n up and running (three routes)
You have three ways to get n8n working. Here they are in order, from easiest to most demanding.
Option A: n8n Cloud (recommended for getting started)
Go to n8n.io, create an account and start the free cloud trial. In two minutes you have a working environment in your browser, nothing to install. It's the right choice for this tutorial: zero technical friction, so you can focus on the logic. Plans start at roughly €20-24 a month after the trial, but the trial alone is plenty for learning.
Option B: self-hosting (for data control and GDPR)
Here you install n8n on your own server or on a cloud service such as a small VPS. The advantage isn't the price (often similar), it's that your data stays on infrastructure you control. For an Italian business handling customer data, self-hosting is often the right call from a GDPR standpoint, since everything stays under your control instead of passing through foreign servers. It's not as simple as the cloud option: you'll need some comfort with Docker or the command line. If you're weighing this route, the comparison in n8n vs Make vs Zapier explains why self-hosting is one of the reasons n8n wins out over so many competitors.
Option C: local install on your own computer
You can install it on your Mac or PC with a single command (npx n8n) if you have Node.js. It's fine for experimenting in total privacy, but the workflow only runs while your computer is on, so it's not suited for real production use.
My advice: use the Cloud for this tutorial. You'll learn the logic once, and that same logic works identically in self-hosting once you decide to take the GDPR step.
Step 2: mapping the interface
Open n8n. In the center you have a blank canvas: this is where you build the workflow by dragging nodes onto it. At the top you'll find the workflow name, the save button, and the Active/Inactive toggle (off while you're testing). The key button is the one for adding a node: usually a big + in the center or top right.
When you click a node, a panel opens on the right with three columns: on the left, the data coming in; in the center, the node's settings; on the right, the data coming out after the node has done its job. This three-column view is a beginner's best friend: it shows you exactly what happens to the data at every step. If something isn't working, the answer is there 90% of the time.
Step 3: the trigger, our starting point
Click the + to add the first node and search for Manual Trigger. For learning purposes, the manual trigger is perfect: it starts the workflow when you press a button yourself, so you control every run while you build.
In production you'll swap it for a real trigger. The ones most used by small businesses are:
- Webhook: n8n receives data from a form on your site or from another piece of software. It's the backbone of lead generation automations with AI agents, because every new contact fires the workflow instantly.
- Schedule: runs at fixed times (every morning at 8, every Monday). Useful for automated reports.
- App trigger: fires when something happens in Gmail, Telegram, Google Sheets, and similar apps.
For today, let's stick with the Manual Trigger. Right after it, we add a second node that pretends to receive a lead: an Edit Fields node (sometimes called "Set"), where we type in a name, an email, and a message by hand, as if they'd arrived from a form. This lets us simulate a real lead without wiring up the actual form yet.
Example data to enter in the Set node:
- name: Giulia Ferrari
- email: giulia.ferrari@example.com
- message: "I'd like a quote for automating customer replies for my e-commerce store"
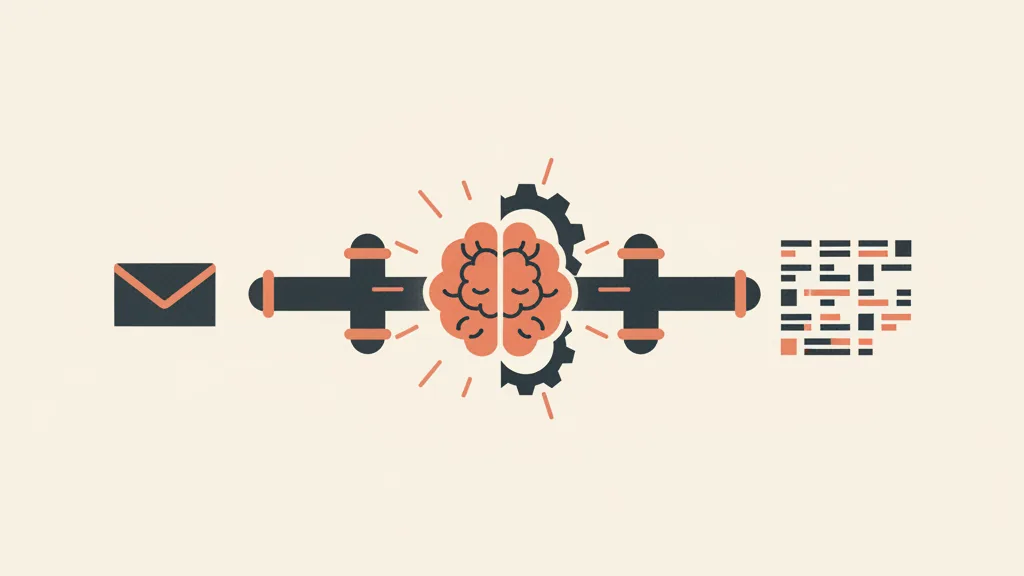
Step 4: the heart of this guide, the AI Agent node
This is the part that sets n8n apart from traditional automation tools: the native AI Agent node. You no longer have to wire up API calls by hand, the node is already built to connect to a language model.
Click + after the Set node and search for AI Agent. When you add it, n8n asks you to attach a Chat Model: that's the actual brain, the model that generates the text. The most common options are models from Anthropic (Claude), OpenAI (ChatGPT), and others. To connect one you'll need an API key from the provider you choose: you get it from their site, paste it once into n8n's credentials, and never think about it again.
What to write in the AI node
The AI Agent node has two fields that matter:
- System Message: defines who the AI is and how it should behave. This is where you set the ground rules.
- User Message / Prompt: the specific task, where you plug in the lead data coming from the previous node.
For the System Message, write something like: "You are the sales assistant for an agency. You receive a message from a prospective customer. Your job has two parts: 1) classify the urgency as HIGH, MEDIUM, or LOW; 2) write a warm first reply, maximum 4 lines, thanking them and proposing a short discovery call. Always reply in the customer's language."
In the user prompt, plug in the actual lead data. In n8n you pull a value from the previous node by dragging it from the left-hand column into the field, or with double-curly-brace syntax. Write something like: "Message received from {{ $json.name }}: {{ $json.message }}". Those double curly braces tell n8n "go fetch the actual value that traveled down the belt." It's not code: it's just a way to grab a piece of data you already have.
This mechanism, an AI model that receives an input and produces an action or a piece of text, is the foundation of every AI agent for business. That's exactly the shift happening in 2026: AI doesn't just chat anymore, inside a workflow it does something concrete (classifies, writes, updates, decides the next step).
Step 5: do something with the AI's reply
The AI node has produced a piece of text. Now you need an action node to send it where it needs to go. The simplest one to learn is Send Email (the Gmail or SMTP node). Add it after the AI Agent, connect your email account, and set:
- Recipient: your own email (it lands in your inbox, so you can review the draft before it ever reaches the customer).
- Subject: "New lead to review: {{ $json.name }}".
- Body: the text generated by the AI node, dragged in from the left-hand column.
In production, instead of emailing yourself, this node could write straight to Google Sheets, update the CRM, or send a WhatsApp message to a salesperson. The principle stays the same: take the AI's output and hand it to the right tool. If incoming-lead management automation is what you're really after, sales follow-up automation with AI is the natural next step from this first workflow.
Ready to go from a first test workflow to an automation that generates leads and saves real hours? Request a free analysis of your processes and we'll tell you what's worth automating first.
Step 6: test it (the part everyone skips and later regrets)
Never activate a workflow without running it manually at least once. Press Execute Workflow (or "Test workflow"). n8n runs the data through every node and shows you each one's result with a green checkmark. Click on each node and look at the right-hand column: that's where you see what actually came out.
What to check:
- Did the AI node reply in the right language? If it answers in the wrong one, restate in the System Message that it must always reply in the customer's language.
- Does the classification make sense? If it gets the urgency wrong, make the prompt more specific with a few examples.
- Did the email arrive? Check your inbox. If a node is red, open the error message: it's almost always a disconnected credential or an empty field.
Once everything is green and the email arrives correctly, flip the switch to Active, and if you've swapped in a real trigger like a form webhook, the workflow starts running on its own.
Common beginner mistakes and how to avoid them
| Problem | Most common cause | Fix |
|---|---|---|
| The AI node throws an authentication error | API key missing, expired, or out of credit | Recheck the key in your credentials and check the balance on the provider's site |
| The AI replies in the wrong language | Weak or missing language instruction | State "always reply in [language]" in both the System Message and the prompt |
| The lead's data doesn't show up in the prompt | Wrong field reference | Drag the value from the left-hand column instead of typing it by hand |
| The workflow doesn't start on its own | Toggle set to Inactive, or the manual trigger is still in place | Swap the Manual Trigger for a real trigger and activate the workflow |
| AI costs higher than expected | Workflow looping or processing too much data | Limit the incoming data and check the execution history |
A quick word on MCP: connecting Claude and ChatGPT to your workflows
Since April 2026, n8n has native support for MCP (Model Context Protocol), a standard that lets an AI assistant like Claude or ChatGPT use your n8n workflows as actual tools. In practice: instead of you opening n8n and pressing Execute, you can ask the AI assistant to trigger an action, and it runs it through the MCP server.
For a non-technical business owner, here's all you need to know: MCP is the bridge that turns "AI that talks" into "AI that operates on your systems." You don't need it for your first workflow, but it's where everything is heading. Once you're ready to string together several coordinated automations, you're in the territory of agentic AI, where instead of a single workflow you have a system that reasons and acts across multiple steps.
What now? From first workflow to automation that delivers results
You've built your first workflow with an AI node. The next leap isn't technical, it's about logic: figuring out which processes in your business are worth automating first. Not everything should be automated, and some things only work if they're built properly. To get your bearings, start with what to automate in your business with AI and honestly weigh DIY against a guided solution.
A practical rule: build simple, low-risk workflows yourself (reports, notifications, drafts to review like the one from today). Once the process touches sales, sensitive customer data, or your reputation on the phone, DIY gets fragile fast and it's worth bringing in help. The line between a nice experiment and a system that actually holds up is exactly where small businesses tend to underestimate the work involved. If you want to understand why so many projects stall, why AI projects fail is worth reading, it'll save you a few weeks of frustration.
n8n is a powerful, honest tool: it does exactly what you tell it to, which is precisely why you need to tell it well. Today's first workflow is the seed. From here it's a matter of adding one node at a time, always testing, and never putting anything into production that you haven't watched run at least once.
Frequently asked questions
Do I need to know how to code to use n8n?
No. n8n is visual: you drag nodes and connect them. The double curly braces used to pull in a piece of data aren't code, they're just a way to reference a value that's already flowing through the workflow. A business owner or marketing manager can build their first AI-node workflow in about an hour by following a guide like this one.
How much does n8n cost for a small business?
The Cloud plan starts at roughly €20-24 a month after the free trial. Self-hosting can cost even less (just a small server), but it requires technical skills. On top of that, if you use an AI node you pay separately for the model (Claude, ChatGPT) based on usage, typically a few cents per run.
Is n8n better in the cloud or self-hosted?
For learning, go with the Cloud: zero technical friction. For a business handling customer data, self-hosting is often the right call from a GDPR standpoint, since the data stays on your own servers instead of passing through third parties. The workflow logic is identical either way, so you can learn in the cloud and migrate later.
What is the AI Agent node in n8n?
It's a native node that connects your workflow to a language model (Claude, ChatGPT, and others). You give it system instructions and a prompt with data, and it generates text or decides on an action. It's the foundation of every operational AI agent: the AI doesn't just answer, it does something concrete inside the flow.
What's the difference between n8n, Make, and Zapier?
They're all no-code automation tools, but n8n stands out for its native AI node, the option to self-host (useful for GDPR), and more predictable pricing at high volumes. Make and Zapier are simpler to start with but cloud-only and can get expensive. You'll find the detailed comparison in our n8n vs Make vs Zapier article.
Can I connect Claude or ChatGPT to my n8n workflows?
Yes. Beyond using them as an AI Agent node, since April 2026 n8n supports MCP (Model Context Protocol): an AI assistant like Claude can use your workflows as tools and trigger them on request. You don't need it for your first workflow, but it's the direction things are heading, toward AI agents that genuinely operate on your systems.
If you'd rather not build it all yourself, talk to us: we'll help you design the right n8n workflows for your business, with an eye on GDPR and real costs.